7 Steps of a Siding Project: What to Expect
What You’ll Learn
What should I expect during a siding replacement project?
A siding project involves more than removing old panels and putting new ones in their place. Your contractor will inspect the existing exterior, prepare the wall surface, address any underlying issues, install the new siding and trim, and finish by checking the entire exterior for proper fit and weather protection.
In This Blog:
His siding project was supposed to be finished before the backyard BBQ.
The plan seemed simple: a few days of work, a fresh exterior, and a house ready for guests by the weekend.
But how long does a siding project actually take?
It depends on the size of the home, siding material, weather, and the work involved. Before the new siding goes up, there’s removal, preparation, installation, trim work, and cleanup.
Knowing what happens at each stage can help you plan your project—and your BBQ.
1. Before the Project Starts
The project begins well before the first piece of siding is removed.
Your contractor will review the scope of work, confirm the siding and trim selections, and discuss details such as property access, exterior fixtures, and any areas that may require special attention.
This is also the time to make sure everyone understands what is—and isn’t—included in the project.
Depending on the home, the contractor may also identify areas around windows, doors, corners, rooflines, and other transitions that require additional preparation or flashing.
Getting these details established before installation begins helps prevent surprises later.
2. Preparing Your Home
Siding installation involves a lot of movement around your house, so some preparation can make the process easier for everyone.
Before the crew arrives, homeowners may want to:
- Move outdoor furniture away from the walls
- Remove decorations attached to the siding
- Trim back plants that are directly against the house
- Keep pets indoors or in a secure area
- Make sure the crew has access to the areas being worked on
- Remove fragile items from interior walls if necessary
Your contractor may also take steps to protect your landscaping, windows, doors, and other areas around the work zone. This can include covering plants or garden beds near the work area with a tarp, creating clear paths for workers and materials, and using protective measures around shrubs and other vegetation.
Moving items away from the house also gives the crew more room to work without accidentally damaging plants or outdoor belongings.
3. Removing and Inspecting the Existing Siding
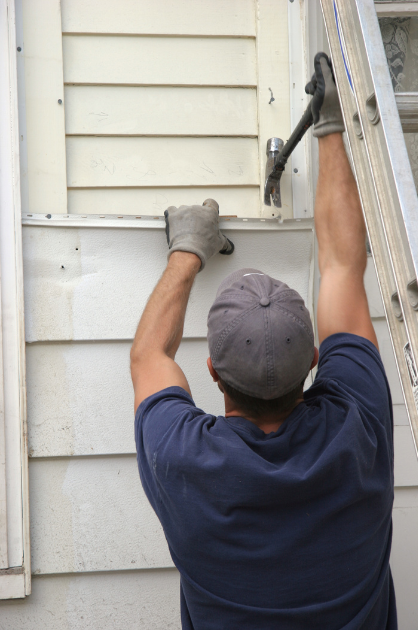
Once the work begins, the old siding is carefully removed so the contractor can see what’s underneath rather than simply covering potential problems with new material.
As the wall is exposed, the crew can inspect the underlying structure for issues that may not have been visible during the initial estimate, including:
- Damaged or deteriorated sheathing
- Moisture damage
- Rot
- Missing or damaged flashing
- Improper previous repairs
- Areas where the existing siding was installed incorrectly
If the crew discovers damage, those areas may need to be repaired or replaced before the new siding is installed. Significant issues should be documented and discussed with the homeowner so everyone understands what needs to be addressed before the project moves forward.
This is also why the final cost or timeline can sometimes change after siding removal. You can’t always know what’s happening behind the exterior until the old siding comes off.
4. Preparing the Surface
Once the underlying wall is in good condition, the exterior is prepared for the new siding system.
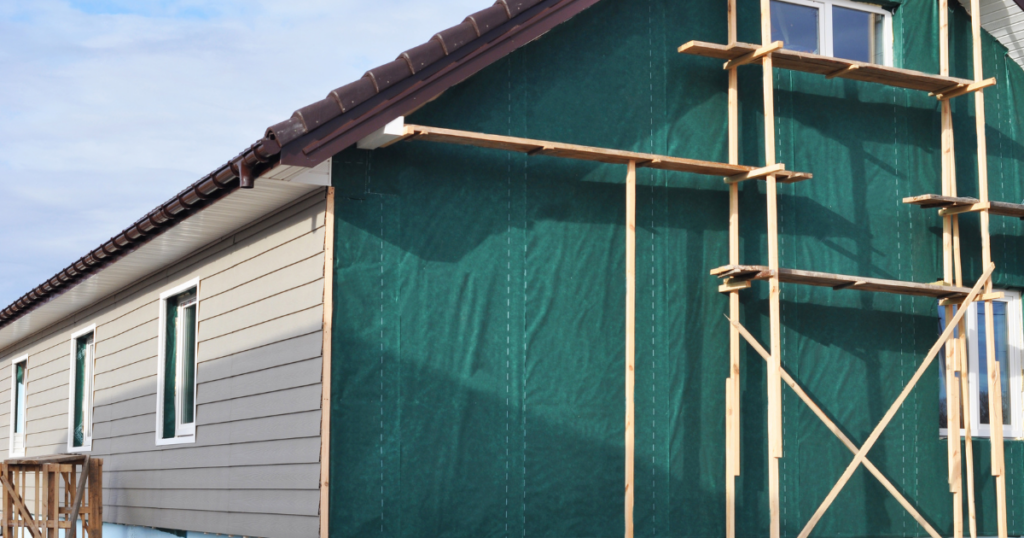
Depending on the project, this may include installing or repairing weather-resistant barriers, flashing, trim, and other components designed to manage water.
This part of the project isn’t particularly exciting because much of it will eventually be hidden.
But it’s some of the most important work being done.
Siding is designed to shed water, not act as the home’s only waterproof barrier. Properly installed flashing and weather-resistant materials help direct water away from vulnerable areas such as windows, doors, corners, and roof intersections.
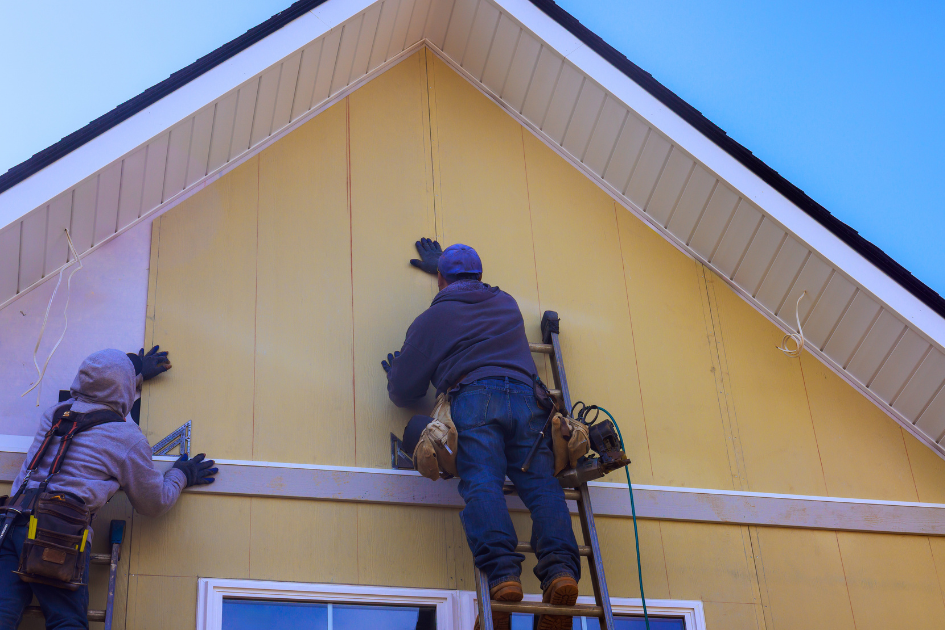
5. Installing the New Siding
Now the part you’ve been waiting for starts to take shape.
The new siding is installed according to the manufacturer’s specifications, with careful attention to alignment, spacing, fastening, and movement.
The installation process varies depending on the siding material.
Vinyl siding, for example, needs room to expand and contract with temperature changes. Fiber cement requires different fastening and spacing considerations.
The goal isn’t simply to make every panel look straight. The siding needs to be installed so the entire system performs as intended in Pennsylvania’s changing weather.
6. Installing Trim and Finishing Details
Once the main siding is installed, the crew completes the details around the areas that require additional precision.
This can include:
- Window and door trim
- Corner posts
- Soffits and fascia
- Vents
- Utility penetrations
- Exterior fixtures
- Roofline transitions
These details have a major impact on both appearance and water management.
A beautiful siding installation can still have problems if the areas around windows, doors, or roof intersections aren’t properly finished.
7. Final Inspection and Cleanup
Before the project is considered complete, the contractor should inspect the finished exterior.
They’ll look for things such as:
- Properly aligned panels
- Secure fastening
- Clean trim lines
- Properly finished corners and openings
- Damaged or missing materials
- Areas that need additional sealing or adjustment
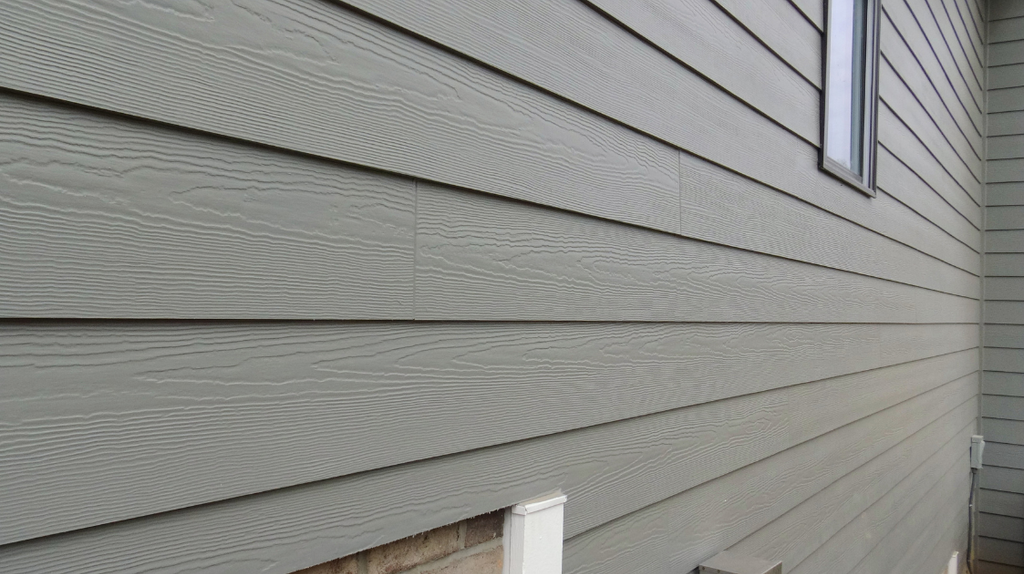
The crew will also clean up construction debris and remove materials from the work area.
This is a good opportunity for the homeowner to walk around the house with the contractor and ask questions about the finished work.
How Long Does a Siding Project Take?
There isn’t one universal timeline for siding replacement.
A smaller, straightforward home may be completed relatively quickly, while a larger or more complicated home can take significantly longer.
The timeline depends on factors such as:
- Size and height of the home
- Type of siding
- Amount of existing siding to remove
- Condition of the underlying walls
- Number of windows and doors
- Architectural details
- Weather
- Unforeseen repairs
Pennsylvania weather can also affect the schedule. Rain, high winds, and other conditions can make exterior work unsafe or prevent certain materials from being installed properly.
A professional contractor should provide an estimated timeline and explain that weather and unexpected repairs can affect the actual completion date.
If Your Contractor Finds Damage
So, what happens if your contractor removes the siding and finds rot, moisture damage, or deteriorated sheathing underneath?
First, don’t panic. Discovering damage during a siding project doesn’t necessarily mean the entire project is in trouble. It means your contractor has found a problem that needs to be addressed before the new siding goes up.
Your contractor should properly document the damage (for insurance purposes), explain what they found, and walk you through the recommended repairs, helping you understand what needs to be fixed and how it may affect the project’s cost or timeline.
While an unexpected repair can be frustrating, finding the problem while the wall is exposed allows you to fix it properly. Installing new siding over damaged materials would only cover up the issue.
Repairing the underlying damage first gives your new siding a sound surface to protect for years to come.
Ready to Upgrade Your Home’s Exterior?
New siding can completely change the appearance of your home while providing another layer of protection from Pennsylvania’s weather.
Contact GP Martini Roofing for a Free Estimate.
We’ll evaluate your existing siding, explain what your project may involve, and help you understand your options before the work begins.

FAQs
How long does a siding replacement project take?
The timeline depends on the size and complexity of your home, the siding material, weather conditions, and whether repairs are needed underneath the existing siding. A straightforward project may move quickly, while larger homes or projects with extensive preparation can take longer. Your contractor should provide an estimated schedule before work begins.
Do I have to leave my house during siding replacement?
Usually, no. Most homeowners can remain in their homes while siding is being installed. However, expect construction noise, workers outside, and activity near windows and doors. If you work from home or have pets, it may be helpful to plan around the noisiest parts of the project.
What happens if you find rot behind my siding?
The damaged area should be documented and repaired before new siding is installed. Depending on the extent of the damage, this could involve replacing deteriorated sheathing or other materials and addressing the source of the moisture. Covering damaged materials with new siding would only hide the problem rather than solve it.
Will my landscaping be protected during the project?
Professional siding crews should take reasonable precautions to protect landscaping and other areas around the work zone. Homeowners should also trim back plants and move outdoor furniture or decorations before installation begins. Discuss any particularly valuable or delicate landscaping with your contractor before work starts.
What should I look for when the siding project is finished?
Walk around the entire exterior with your contractor and look at the panel alignment, trim, corners, windows, doors, and other finished areas. Ask about anything that looks unusual or unfinished. It’s also a good time to confirm that construction debris has been removed and that you understand any maintenance recommendations for your new siding.