Step-by-Step Guide to Professional Siding Replacement

What You’ll Learn
What should I expect during my professional siding replacement?
During a professional siding replacement, you can expect a structured process that includes inspection, removal of old siding, installation of protective barriers, and precise placement of your new siding and trim.
The crew will protect your property, keep the worksite clean, and complete a final walkthrough to ensure everything meets your expectations.
6 Steps of Professional Siding Replacement:
Your siding install is scheduled for this week.
You’re at a loss for what to expect when the truck pulls up.
How long does it take?
What should you expect each day?
How can you prepare?
This comprehensive guide walks you through the entire siding installation process, start to finish, so that you can approach your project with complete clarity and confidence.
1. Initial Inspection, Quote, and Material Selection
Every successful siding installation begins with a thorough on-site inspection.
Your contractor will walk the exterior of your home to evaluate:
- The condition of your current siding
- Any visible damage or moisture issues
- The state of trim, soffits, fascia, and flashing
- Potential problem areas, such as wood rot or pest damage
- Your home’s architectural style and design needs
This evaluation allows the contractor to provide a detailed, accurate quote—not a ballpark guess—covering materials, labor, permits (if required), and the projected timeline.
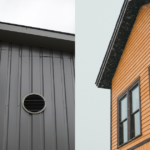
Material Selection
You’ll then choose the siding that best suits your home’s look, efficiency goals, and budget. Popular options include:
- Vinyl siding: Low-maintenance and cost-efficient
- Fiber cement siding: Extremely durable and available in high-end textures
- Engineered wood siding: Warm, natural look with strong impact resistance
- Metal siding: Long-lasting and modern in appearance
Your contractor will also help you select colors, trim profiles, and accessories (such as soffit vents, corner posts, and window trim) to create a cohesive design.
In Chester County, materials must withstand humidity, seasonal temperature swings, and occasional storms. Your contractor should guide you toward options that perform best in this climate.
2. Preparing the Home and Property
Before installation begins, the crew will take steps to protect your property and minimize disruptions.
This stage is often overlooked, but is one of the most important parts of a professional siding replacement.
Protecting Landscaping
Crews typically use tarps and protective sheeting, temporary plywood panels, and ropes or barriers.
This prevents falling debris from damaging plants, gardens, or decorative features.
Removing Exterior Fixtures
Anything attached to the existing siding must come off so crews have full access. The crews will remove everything, including, but not limited to:
- Light fixtures
- Downspouts and gutters (in some cases)
- Shutters
- Address numbers
- Hose bib covers
- Mailboxes
- Decorative trim elements
If necessary, the team may also detach satellite dishes or cable wires and coordinate with utility providers when needed.
Setting Up the Dumpsters & Tools
Professionals will also:
- Set up disposal trailers or dumpsters
- Position scaffolding or ladders
- Determine power sources for tools
A well-prepared worksite helps ensure the siding installation proceeds efficiently and safely.
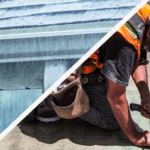
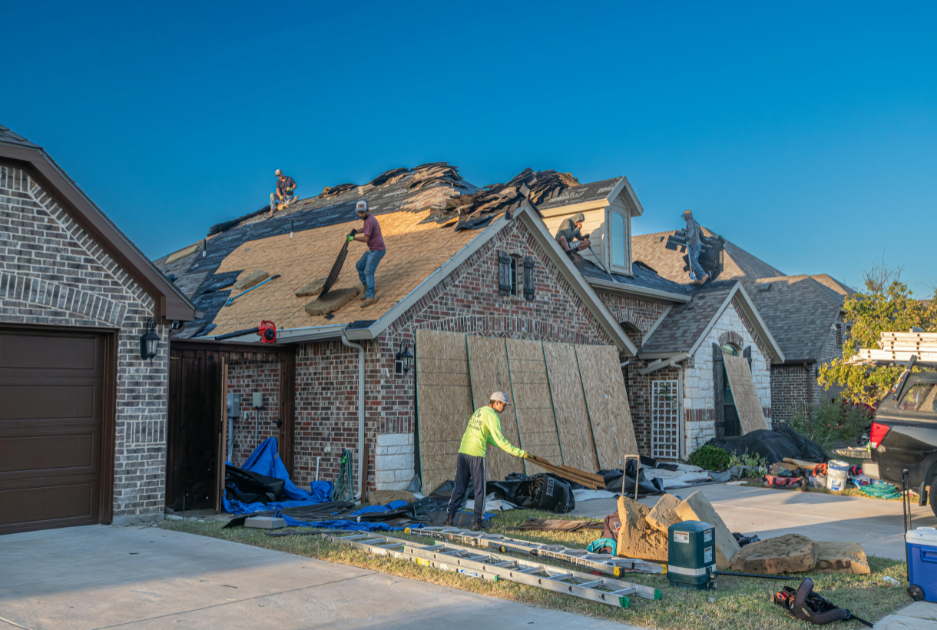
3. Removing Old Siding and Inspecting the Underlying Structure
Once the site is prepared, the crew begins removing the old siding. This can be one of the noisiest and messiest phases, but an experienced team handles it with care and organization.
Removal Process
The crew will:
- Carefully detach panels
- Remove nails, fasteners, and old trim
- Dispose of debris immediately to keep the jobsite clean
Structural Inspection
With the siding removed, the underlying structure becomes visible.
This is a crucial moment because it’s the first chance to see what’s really happening behind your home’s exterior. The contractor will check for:
- Rotting or water-damaged sheathing
- Mold or mildew
- Pest damage (termites, carpenter ants, etc.)
- Warping or structural weakness
- Inadequate insulation
If issues are found, the crew will replace damaged areas before proceeding. This ensures your new siding isn’t just beautiful—it’s installed on a strong, healthy structure.
4. Installing Moisture Barriers, Flashing, and Insulation
A high-quality siding installation always includes critical protective layers beneath the visible exterior.
House Wrap / Weather-Resistant Barrier (WRB)
The Weather-Resistant Barrier (WRB) layer prevents moisture from entering your home while allowing water vapor to escape. Proper installation of WRB dramatically prolongs the life of your siding and prevents mold growth inside the walls.
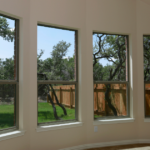
Flashing
Flashing is installed around:
- Windows
- Doors
- Roofline intersections
- Other vulnerable areas
Its job is to direct water away from the home—an important factor in a region with seasonal rain and humidity.
Insulation (Optional but Recommended)
Some homeowners choose:
- Foam board insulation for improved energy efficiency
- Blown-in insulation upgrades
- Insulated siding products, which combine durability and thermal performance
With energy costs on the rise, adding insulation during siding replacement is one of the most cost-effective improvements available.
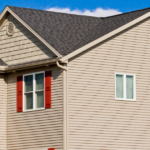
5. Installing New Siding, Trim, and Accessories
This is the stage most homeowners look forward to most—the exterior transformation.
Installing the Siding
Different materials require different techniques, but all professional installations follow similar principles:
- Panels are cut to exact measurements
- Joints are staggered to create uniformity and strength
- Expansion gaps are left where needed (especially for vinyl)
- Fasteners are placed precisely to avoid warping or buckling
- Corners, edges, and seams are sealed or interlocked properly
Attention to detail is critical. Poorly installed siding can allow moisture intrusion—and one of the main reasons to hire professionals is to ensure errors like these don’t occur.
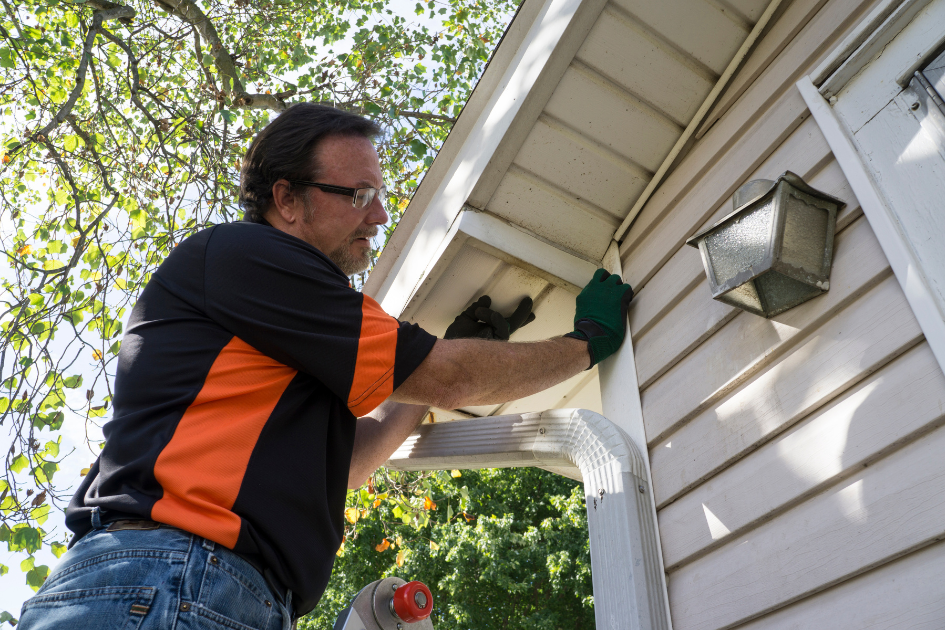
Trim and Accessory Installation
Trim brings definition and protection to the edges of your home, such as the windows, corners, and soffits.
Accessories such as vents, shutters, and lighting mounts are reinstalled or replaced as appropriate.
A skilled crew ensures that everything aligns cleanly, matches the style of the home, and forms a fully sealed, weather-resistant exterior envelope.
6. Site Cleanup and Final Walkthrough
Professional contractors take cleanup seriously.
Before the project is considered complete, the team will:
- Remove all debris, nails, and scrap material
- Clean walkways, driveways, and decks
- Reinstall any fixtures removed earlier
- Inspect the property for safety
- Ensure landscaping is restored to its previous condition
This is your opportunity to confirm that the project meets your expectations before signing off.
Typical Timeline and Factors That Affect Duration
Most siding installation projects take 7 to 14 days, depending on:
- Home size and number of stories
- Material selection (fiber cement takes longer than vinyl)
- Extent of structural repairs needed
- Weather conditions (rain or storms can delay progress)
- Customization level (decorative trim, unique cuts, multiple colors)
- Crew size and scheduling availability
While your contractor will provide a projected timeline during the quote stage, they should also keep you updated throughout the project.
Transform Your Home’s Exterior
A professional siding replacement is one of the best investments you can make—boosting curb appeal, improving energy efficiency, and protecting your home for decades.
If you’re ready to move forward with siding installation, contact GP Martini Roofing today for a free, no-obligation estimate.
Our experts are here to help you choose the perfect siding and deliver flawless installation from start to finish.

FAQs
How do I know if my home really needs new siding?
Most Chester County homes show clear signs when siding needs replacement—cracks, warping, rot, bubbling, mold, fading, or higher energy bills.
If your siding is 20–30 years old or has visible moisture damage, a professional inspection can confirm whether repair or full replacement is the better long-term solution.
How long does a siding installation usually take?
A typical siding installation takes about 7–14 days, depending on your home’s size, material choice, and any needed structural repairs.
The weather can affect the schedule, especially during rainy seasons. A good contractor will provide a timeline up front and communicate daily progress so you always know what to expect.
Will siding installation damage my landscaping or property?
A professional crew takes precautions to protect plants, walkways, and outdoor fixtures using tarps, plywood, and controlled work zones.
While minor disturbances are possible, reputable installers clean up daily, restore your property afterward, and ensure no debris, nails, or old siding remains once the job is complete.
What siding material is best for Chester County’s climate?
Vinyl and fiber cement are the most popular choices for Chester County because they handle humidity, temperature swings, and storms exceptionally well.
Fiber cement offers superior durability and a premium look, while vinyl provides excellent value and low maintenance.
Your contractor can recommend the best option for your home’s style and budget.
Can new siding improve my home’s energy efficiency?
Yes—modern siding systems include moisture barriers, optional insulation, and tighter installation methods that reduce drafts and heat loss.
Insulated vinyl, foam board backing, or upgraded house wrap can significantly improve efficiency.
Many Chester County homeowners notice lower utility bills after replacing old or poorly sealed siding.